Have you ever wondered how to meal prep work lunches effectively and save money? The average professional spends $11-14 per workday lunch – that’s over $3,000 annually! As a former takeout addict turned meal prep enthusiast, I’ve discovered that just 2 hours of weekend prep can save you hundreds while revolutionizing your lunch game. In this guide, I’ll walk you through exactly how to prep delicious work lunches that you’ll look forward to eating. No complicated recipes or fancy ingredients are required – just simple, practical strategies that work for real people with busy lives.
What’s in this post
Getting Started: Essential Tools and Basic Setup
Before learning how to meal prep work lunches, let me tell you about my first meal prep disaster – I tried storing a week’s worth of salads in old takeout containers. By Wednesday, my lettuce was a soggy mess, and the containers had leaked all over my work bag. What a nightmare! After that expensive dry cleaning bill (and some bruised pride), I learned that having the right tools isn’t just helpful – it’s essential for successful meal prep.
The Container Situation
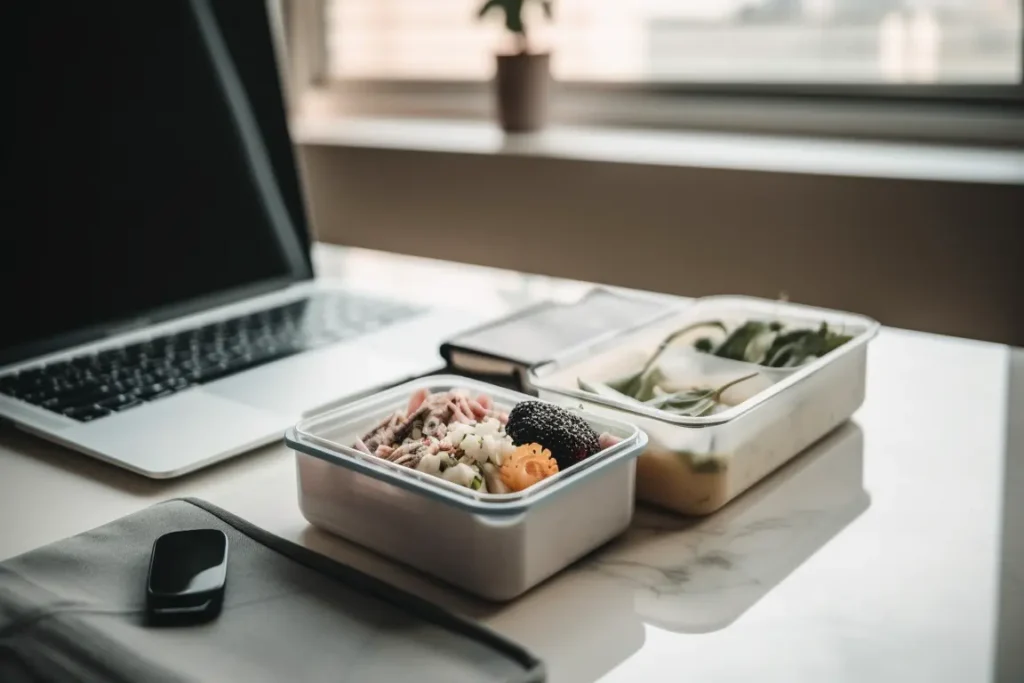
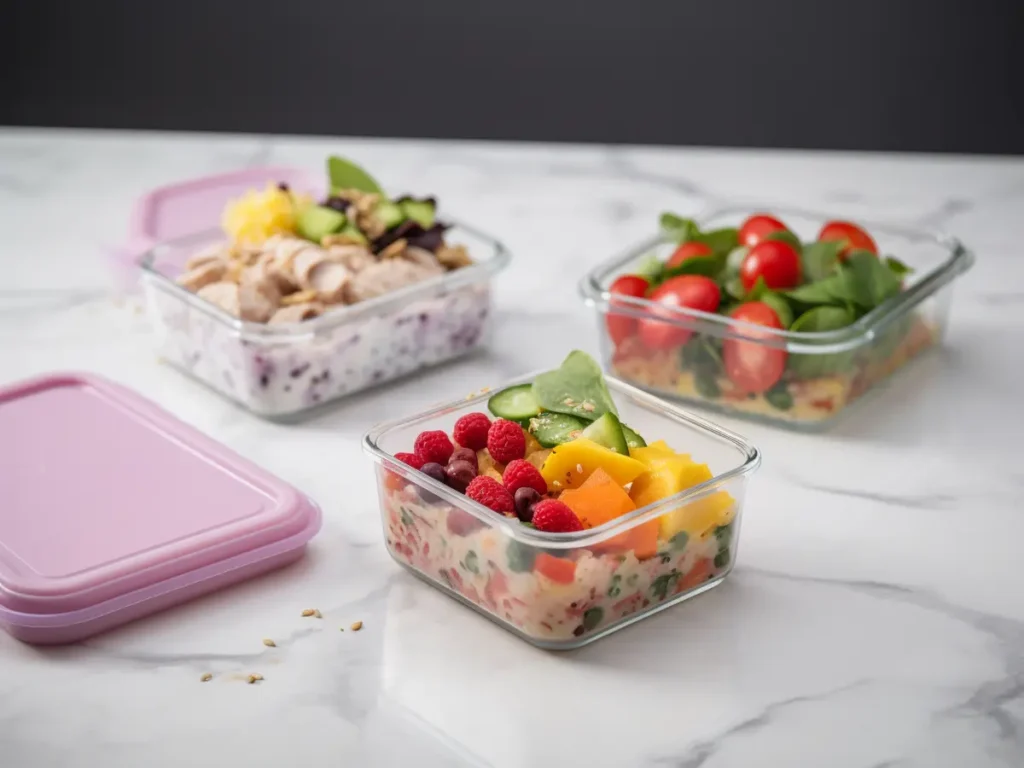
Here’s the thing about meal prep containers – you don’t need to break the bank, but you do need to be strategic. I started with a mix of glass and BPA-free plastic containers, and honestly, both have their place in my meal prep game. Glass containers are fantastic for anything you’ll need to microwave (no weird plastic smell!), while lightweight plastic ones are perfect for foods you’ll eat cold or at room temperature.
My go-to setup includes:
- 6-8 medium-sized glass containers with dividers (around $5-7 each at Target)
- 4-5 smaller containers for dressings and sauces
- A few large plastic containers for prepped ingredients
Pro tip: Always buy containers from the same set! I learned this the hard way when I ended up with a drawer full of mismatched lids that drove me absolutely bonkers.
Kitchen Equipment Essentials
You don’t need fancy gadgets to meal prep successfully. Trust me, I went through a phase where I bought every “time-saving” device out there, and most of them just collected dust. Here’s what I use every week:
- A good chef’s knife (seriously, this changed my prep game)
- Two cutting boards (one for produce, one for proteins)
- Sheet pans (at least two – you’ll thank me later)
- A large colander
- Measuring cups and spoons
- A few mixing bowls
I splurged on my chef’s knife ($40 at a restaurant supply store), but everything else was pretty budget-friendly. The whole setup cost less than two weeks of buying lunch out!
Storage Solutions That Work
Let’s talk about keeping different types of food fresh because this was honestly the trickiest part for me to figure out. After months of trial and error (and some questionable lunches), here’s what works:
For salads:
- Store greens separately from wet ingredients
- Use paper towels to absorb excess moisture
- Keep dressing in a separate container
For hot meals:
- Allow food to cool completely before storing (learned this after some scary food safety situations!)
- Use containers with good seals to prevent leaks
- Consider portioning sauces separately
Organization Systems That Save Your Sanity
Y’all, my fridge used to look like a game of Tetris gone wrong. Now, I use a simple system that keeps everything organized:
Top shelf: Prepared meals for the week Middle shelf: Prepped ingredients Bottom shelf: Raw ingredients waiting to be prepped
I also keep a whiteboard on my fridge listing what I’ve prepped and when – this has saved me from more than a few “is this still good?” moments!
Remember when I mentioned those mismatched lids? Now I store containers with their lids attached. Takes up a bit more space, but saves so much time and frustration in the morning rush.
The best part about all this organization? It actually saves money in the long run. When you can see what you have, you’re less likely to let food go to waste or buy duplicates you don’t need. Plus, having an organized setup makes the whole meal prep process feel less overwhelming – and trust me, that’s half the battle!
Want to know what makes me chuckle now? I used to spend 20 minutes every morning frantically searching for matching containers while my lunch sat in a sad pile on the counter. These days, I grab and go in less than a minute. Sometimes the simplest changes make the biggest difference!
The 5-Step: How to Meal Prep Work Lunches.
When meal prepping work lunches, planning is key.
Remember when I thought meal prepping meant cooking seven identical meals on Sunday night? Yeah, that lasted exactly one week before I got so bored I ordered takeout instead. Through lots of trial and error (and way too many sad salads), I’ve developed a foolproof 5-step process that actually works for real life. Let me break it down for you!
Step 1: Weekly Meal Planning Strategies
The secret to successful meal prep isn’t just about cooking – it’s about smart planning. I learned this the hard way after throwing out way too many containers of wilted spinach and forgotten quinoa. Now, I start each week with what I call my “reality check planning session.”
First, I check my calendar. Got three lunch meetings this week? No point in prepping five lunches! This simple step has saved me so much waste. Then, I plan around what I actually enjoy eating. Sure, those Instagram-worthy Mason jar salads look amazing, but if you’re like me and need something warm and cozy on cold days, plan for that instead!
My current planning method is super simple:
- Friday: Quick calendar check and rough meal ideas
- Saturday: Make my shopping list
- Sunday: Shopping and prep day
Pro tip: Keep a running list on your phone of meals you actually enjoyed. It’s a game-changer when you’re feeling uninspired!
Step 2: Smart Grocery Shopping Tips
Oh boy, do I have some grocery shopping horror stories! Like the time I bought ingredients for five elaborate meals without checking what I already had – turns out I now own four bottles of cumin. These days, I’m much smarter about my shopping approach.
Before heading to the store, I:
- Check what I already have (seriously, how many bottles of soy sauce does one person need?)
- Organize my list by store section
- Plan around what’s in season (and on sale!)
Here’s a secret that transformed my grocery game: I shop for components rather than strict recipes. Instead of buying ingredients for five specific meals, I’ll get:
- 2-3 protein options
- 2-3 grain/starch bases
- 4-5 vegetables that can mix and match
- Versatile sauces and seasonings
This approach gives me flexibility while keeping things simple. Plus, it usually works out cheaper!
Step 3: Efficient Prep Day Routines
Let’s talk about my prep day evolution. I used to spend entire Sundays in the kitchen, feeling like I was running a small restaurant. Now? I’ve got it down to about 2 hours, tops. The key? Working smarter, not harder.
Here’s my tried-and-true prep sequence:
- Start with proteins (they take the longest)
- While those cook, chop all vegetables
- Cook grains (they can do their thing while you work on other tasks)
- Prep sauces and dressings
- Assembly line time!
I always put on my favorite podcast and make it kind of zen – way better than feeling like it’s a chore!
Step 4: Proper Portioning Techniques
Portion control was my nemesis at first. Either I’d pack way too much food (hello, food waste) or not enough (hello, afternoon vending machine visits). Now I use what I call the “plate method”:
- 1/4 plate protein
- 1/4 plate grains/starches
- 1/2 plate vegetables
I use measuring cups for the first few weeks with any new recipe, but eventually, you get pretty good at eyeballing it. Just remember – it’s better to slightly underpack and keep some emergency snacks at work than to overpack and waste food.
Step 5: Storage and Organization Methods
The final step is all about setting yourself up for grab-and-go success. I arrange my containers in the fridge in order of eating (Monday in front, Friday in back). Each container gets labeled with:
- Contents
- Date prepped
- Are any special reheating instructions
A quick tip that saved my marriage: buy clear containers! No more “mystery meals” in the fridge that neither of us wants to claim responsibility for.
The absolute game-changer for me was creating a “leftover ingredients” box in the fridge. Those random half peppers and quarter onions? They go straight into next week’s prep or Thursday’s dinner stir-fry. My food waste has gone down dramatically since implementing this system.
Look, meal prepping isn’t about being perfect – it’s about making your life easier. Some weeks, you’ll nail it. Other weeks, you might only prep three days’ worth of lunches. And you know what? That’s fine! The goal is progress, not perfection. Besides, those two or three prepped meals are still saving you money and helping you eat better than if you’d given up entirely.
Ready to move on to the actual recipes and meal ideas? That’s coming up next, and trust me – these are recipes that won’t have you eating the same boring chicken and rice five days in a row!
Essential Ingredients for Meal Prepping Work Lunches.
When I first started meal prepping, I made the classic rookie mistake of trying to recreate elaborate restaurant meals. Let’s just say my attempt at meal-prepped sushi didn’t exactly work out (pro tip: three-day-old rice rolls are NOT your friend). These days, I stick to a much simpler approach that I like to call the “mix-and-match method.” Trust me, it’s a total game-changer!
Protein Options That Reheat Well
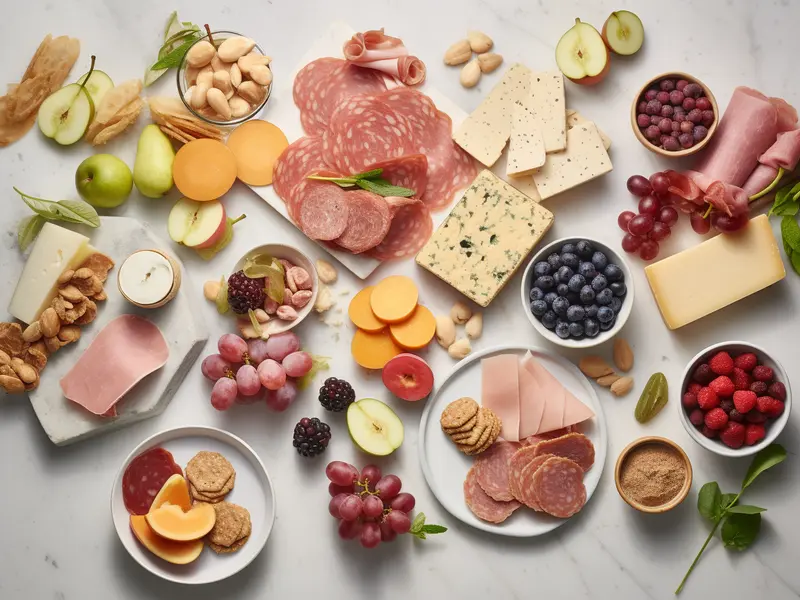
Let’s talk protein – the foundation of any good meal prep. I’ve tested pretty much every protein option out there, and let me tell you, some definitely hold up better than others. Remember my sad, rubbery microwave chicken phase? Yeah, we don’t talk about that anymore.
Here are my tried-and-true protein prep methods:
- Chicken thighs (way more forgiving than breast meat!)
- Ground turkey seasoned with taco spices
- Baked tofu (holds its shape better than pan-fried)
- Chickpeas and black beans (budget-friendly protein heroes)
- Hard-boiled eggs (perfect for adding last-minute protein)
The secret to proteins that don’t taste like rubber? Don’t overcook them initially! They’ll cook a bit more when you reheat them. I always take my chicken thighs out just barely done, and they’re perfect when reheated.
Versatile Grain and Carb Bases
Grains are your meal prep best friend – they’re cheap, filling, and actually taste better after a day or two in the fridge. But here’s something I wish someone had told me earlier: different grains have different shelf lives when prepped!
My favorite grain bases ranked by how well they hold up:
- Brown rice (stays good all week)
- Quinoa (fantastic cold or hot)
- Farro (chewy texture that doesn’t get mushy)
- Pasta (but only if you cook it al dente!)
A game-changing trick I learned: toss your grains with a tiny bit of olive oil while they’re still warm. This prevents them from clumping together in the fridge and helps them reheat more evenly.
Mix-and-Match Vegetables
Okay, let’s tackle the vegetable situation. I used to prep all my veggies the same way (roasted to death) and wonder why everything tasted the same by day three. Now I know better! The key is to prep vegetables in different ways to keep things interesting.
My veggie prep rotation usually includes:
- Roasted vegetables (broccoli, sweet potatoes, carrots)
- Raw crunchy vegetables (bell peppers, cucumber, snap peas)
- Quick-pickled vegetables (red onions, carrots, radishes)
- Leafy greens (packed separately to prevent wilting)
Pro tip: Keep some cherry tomatoes and avocados at work for adding fresh elements to your prepped meals. They don’t prep well in advance, but they can transform a basic meal into something special!
Sauces and Dressings That Keep Well
Y’all, sauces are the secret weapon of meal prep. They can turn the exact same ingredients into completely different meals! After way too many leaked dressings in my work bag (RIP favorite tote), I’ve learned which sauces travel well and which ones… don’t.
My reliable sauce lineup includes:
- Lemon-tahini dressing
- Peanut sauce
- Chimichurri
- Greek yogurt-based ranch
- Simple vinaigrettes
The key is to store sauces in separate small containers and add them right before eating. I learned this after the “Great Soggy Salad Incident of 2022” – trust me on this one!
Simple Assembly Combinations
Now, let’s put it all together! The beauty of the mix-and-match method is that you can create different meals using the same prepped ingredients. Here are some of my favorite combinations that have never let me down:
Mediterranean Style:
- Quinoa base
- Chickpeas
- Roasted vegetables
- Quick-pickled red onions
- Lemon-tahini dressing
Asian-Inspired:
- Brown rice
- Baked tofu
- Raw snap peas and carrots
- Peanut sauce
Mexican-ish Bowl:
- Cauliflower rice (when I’m feeling virtuous)
- Taco-seasoned ground turkey
- Bell peppers and onions
- Quick-pickled radishes
- Greek yogurt sauce
The best part? If you prep all these components separately, you can mix and match throughout the week so you’re not eating the same thing every day. Because let’s be real – even your favorite meal gets boring when you eat it five days straight!
A word about portions: I use the “handful” method because I’m too lazy for exact measurements. One handful of protein, one of grains, two vegetables, and a thumb-sized portion of sauce. Super scientific, right? But it works!
Remember, the goal isn’t to create Instagram-worthy mason jar salads (though if you can, more power to you!). The goal is to make healthy, satisfying lunches that you’ll want to eat. And trust me, once you master these basic components, you can get as creative as you want!
Want to know what makes me laugh now? I used to think meal prep meant eating the same sad chicken and broccoli five days in a row. These days, my coworkers are always asking what I’m having for lunch because everything looks (and smells) so good. Who’s the meal prep queen now? 👑
Ready to learn about some time-saving batch cooking methods that’ll make prepping all these components a breeze? Let’s dive into that next!
Time-Saving Batch Cooking Methods
Let me tell you about my first attempt at meal prepping – I had three different pots going, something in the oven, and was trying to chop vegetables all at the same time. My kitchen looked like a tornado hit it, and I was exhausted before I even finished! These days, I’m all about working smarter, not harder. Let me share some of my favorite batch cooking methods that’ll save you time (and your sanity).
Sheet Pan Magic
Can we talk about how sheet pans changed my meal prep game? Seriously, these humble kitchen workhorses are the MVPs of efficient cooking. I remember the day I realized I could cook an entire meal’s worth of components on just two sheet pans – it was like discovering a superpower!
Here’s my foolproof sheet pan strategy:
- Line everything with parchment paper (easy cleanup = happy meal prepper)
- Cut vegetables in similar sizes for even cooking
- Season different sections differently for variety
- Use the top rack for things that need to crisp, bottom for things that need to cook through
My favorite sheet pan combo:
- Pan One: chicken thighs + sweet potatoes + broccoli
- Pan Two: chickpeas + bell peppers + red onions
Pro tip: Invest in good-quality sheet pans that won’t warp. I learned this the hard way after my cheap pan twisted like a pretzel in the oven, sending my carefully arranged vegetables flying everywhere!
One-Pot Cooking Strategies
Remember that disaster I mentioned with multiple pots going at once? Now I’m all about the one-pot wonder meals. Not only does this mean fewer dishes (hallelujah!), but it also creates flavors that just get better over the course of the week.
My go-to one-pot recipes:
- Curry lentils with vegetables
- Mexican quinoa with black beans
- Mediterranean chicken and rice
- Vegetable and bean soup
The secret to one-pot success? Layer your ingredients based on cooking time. I used to throw everything in at once and end up with mushy vegetables and undercooked rice. Not exactly lunch goals!
Instant Pot & Slow Cooker Tips
Oh boy, let me tell you about my love affair with my Instant Pot! After getting over the initial terror of the pressure release (anyone else ducks and cover the first few times?), I realized this machine is like having a personal chef.
Best Instant Pot prep combinations:
- Rice + beans (different varieties for the week)
- Shredded chicken (season differently for variety)
- Steel-cut oats (breakfast meal prep anyone?)
- Soups and stews
Slow cooker wisdom I’ve gained through experience:
- Low and slow beats high and fast
- Don’t add dairy until the end
- Fresh herbs go in last
- Always spray the insert with cooking spray first (learned that after a particularly stubborn cleaning session)
Make-Ahead Components That Last
Here’s something that took me way too long to figure out – not everything needs to be fully assembled on prep day! Some components actually taste better when made ahead, while others should be prepared at the last minute.
Components that improve with time:
- Marinaded proteins
- Roasted vegetables
- Grains and legumes
- Sauces and dressings (most of them, anyway)
Things I prep but don’t fully cook:
- Chopped vegetables for stir-fries
- Portioned smoothie ingredients
- Measured spice blends
The real game-changer? Prepping extra of everything! Those roasted vegetables you made for lunch? They’re perfect for throwing into a quick dinner stir-fry. That extra quinoa? Tomorrow’s breakfast with some fruit and honey. It’s all about thinking ahead!
Time Management Tricks
Want to know my secret weapon for efficient batch cooking? It’s all about the timing! Here’s my typical Sunday prep schedule:
- Hour One:
- Preheat oven
- Start slow cooker or Instant Pot protein
- Chop all vegetables for the week
- Get sheet pan ingredients ready
- Hour Two:
- Sheet pan items in the oven
- Cook grains
- Prep sauces and dressings
- Package everything up
I like to call this my “kitchen choreography” – everything has its place and time, and it all flows together like a well-rehearsed dance. Though I’ll admit, it took some practice to get here. My first few attempts looked more like freestyle chaos!
Remember my three golden rules of batch cooking:
- Clean as you go (future you will be so grateful)
- Keep it simple (this isn’t Top Chef)
- Always make extra (because Thursday-night-you will appreciate having backup options)
The best part about mastering these batch cooking methods? They’re totally scalable. Starting small? Use just one sheet pan. Getting more confident? Add in the Instant Pot. Before you know it, you’ll be running your kitchen like a pro!
You know what makes me smile now? Watching my coworkers struggle with their sad desk salads while I’m enjoying my variety of home-cooked meals. Even better? When they ask for my “secret” and I get to share these tips with them. Because honestly, once you get the hang of batch cooking, you’ll wonder how you ever lived without it!
Want to learn how to keep all this prepped food fresh and delicious? Let’s talk storage and freshness hacks next!
Storage and Freshness Hacks
Let’s talk about the elephant in the room – soggy, wilted, or just plain sad-looking meal prep food. We’ve all been there! I still cringe thinking about the time I brought what was supposed to be a crispy chicken sandwich to work, only to find bread that had turned into a soggy mess. After countless trial and error (and some truly questionable lunches), I’ve finally cracked the code on keeping meal prep food fresh and appetizing all week long.
Preventing the Dreaded Soggy Meal
First things first – moisture is both your friend and enemy in meal prep. Too little, and your food dries out; too much, and you’ve got a soggy disaster on your hands. Here’s what I’ve learned about keeping things just right:
For Salads and Fresh Vegetables:
- Store lettuce with a paper towel to absorb excess moisture
- Keep wet ingredients (tomatoes, cucumbers) separate until eating
- Pat everything dry before storing – seriously, this makes a huge difference!
For Hot Meals:
- Let food cool completely before packing (I learned this the hard way after creating a steam sauna in my containers)
- Use containers with ventilation holes for foods that release steam
- Layer ingredients strategically – saucy items on the bottom, dry items on top
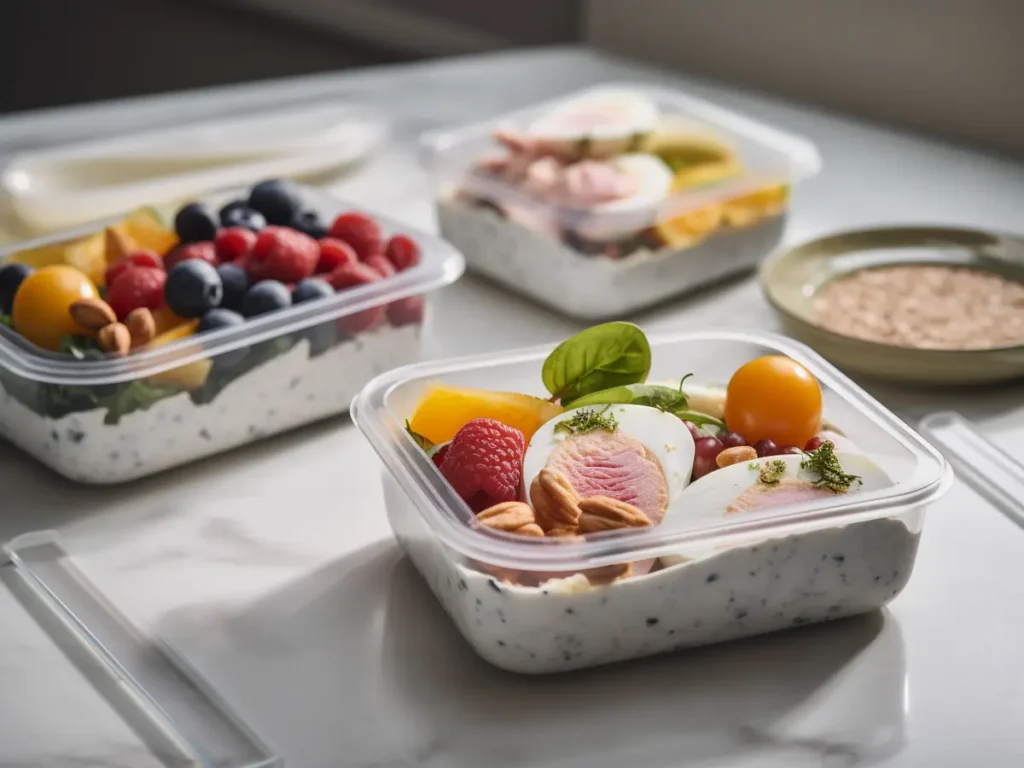
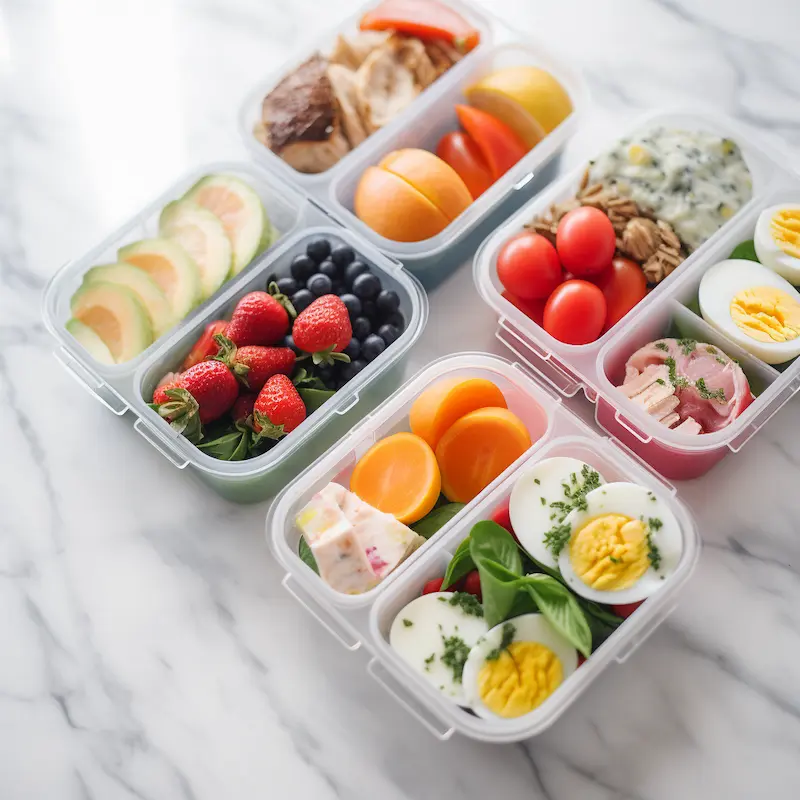
My biggest breakthrough? The “divider method” – using silicone cupcake liners or small containers within containers to keep different components separate. Game changer!
Ingredient Separation Strategies
Remember when I mentioned my soggy sandwich tragedy? That taught me the importance of proper ingredient separation. Here’s my current system that keeps everything fresh:
Main Container:
- Grains or proteins on the bottom
- Hardy vegetables in the middle
- Delicate items on top
Separate Containers for:
- Dressings and sauces
- Fresh herbs
- Crunchy toppings like nuts or seeds
- Avocados (these get a special tiny container with a lemon slice)
Pro tip: I keep an “emergency freshness kit” at work with extra lemons, olive oil, and salt. It’s saved many meals that needed a little perking up by day three or four!
Proper Cooling and Storage Techniques
Y’all, food safety is no joke. After one questionable chicken incident (let’s just say I got very familiar with my bathroom), I became religious about proper cooling and storage. Here’s what works:
Cooling Guidelines:
- Let hot food cool for no more than 30 minutes at room temperature
- Use shallow containers for faster cooling
- Never stack hot containers – they need air circulation
- Use an ice bath for quick cooling when needed
Storage Rules I Live By:
- Keep prepared meals between 35-38°F
- Use the “first in, first out” method
- Label everything with prep date and “eat by” date
- Store proteins on the bottom shelf
- Keep fruits and vegetables in crisper drawers
Best Practices for Reheating
Reheating meal prep food is an art form – one that took me way too long to master. Here’s what I’ve learned:
Microwave Tips:
- Add a damp paper towel over rice or grains
- Stir halfway through heating
- Let food rest for 30 seconds after heating
- Arrange food in a ring shape for even heating
Alternative Reheating Methods:
- Office toaster oven for crispy items
- Hot water bath for sous-vide style reheating
- Room temperature for certain dishes (some things just taste better this way!)
The absolute game-changer? Investing in a good quality microwave-safe container with a vented lid. No more exploded lunches in the break room microwave!
Temperature Control on the Go
Getting your food from home to work while maintaining proper temperature can be tricky. Here’s my tried-and-true system:
For Cold Items:
- Use an insulated lunch bag
- Pack a reusable ice pack (I keep three in rotation)
- Put dairy items directly against the ice pack
- Keep the bag out of direct sunlight
For Hot Items:
- Use a thermos for soups or stews
- Pre-heat the thermos with hot water
- Don’t mix hot and cold items in the same container
- Pack hot items in glass containers for better microwave reheating
The Week-Long Freshness Timeline
Here’s my general timeline for maximum freshness:
Monday/Tuesday Meals:
- Any seafood dishes
- Dishes with fresh herbs
- Salads with tender greens
Wednesday/Thursday Meals:
- Chicken or meat-based dishes
- Grain bowls
- Heartier salads
Friday Meals:
- Sturdy meals like curries or stews
- Dishes that improve with time
- Emergency frozen backup meal (because sometimes Thursdays are rough!)
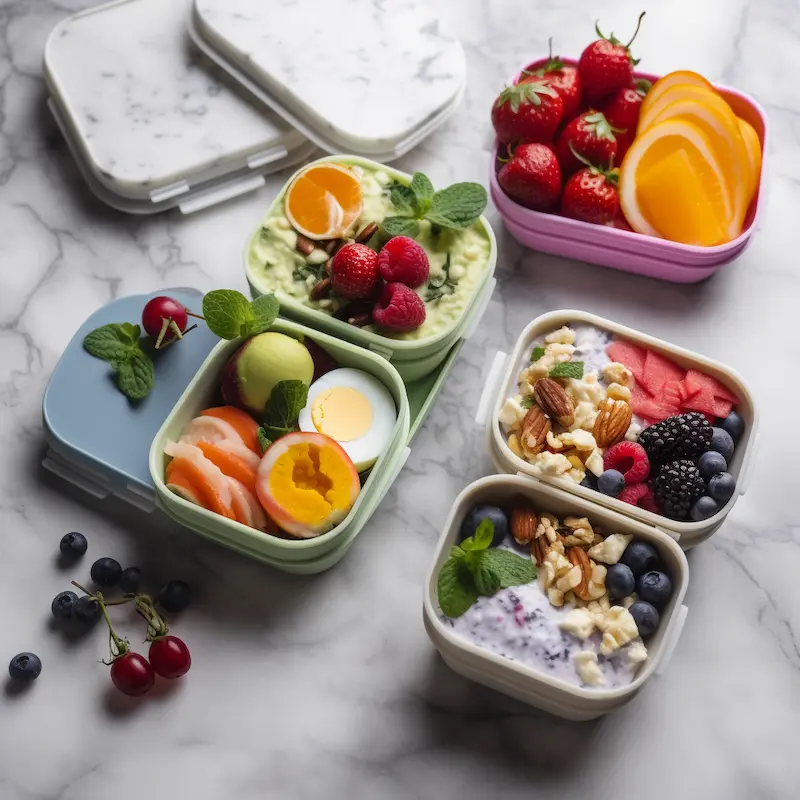
You know what makes me laugh now? I used to think those fancy bento boxes were just for show. Turns out, they’re actually brilliant for keeping different components separate and fresh. Sometimes the Instagram meal prep influencers actually know what they’re talking about!
Want to know how to make all this meal prep magic happen without breaking the bank? Let’s talk budget-friendly strategies next!
Budget-Friendly Meal Prep Strategies
Let me share a painful truth – I used to spend over $300 a month on takeout lunches! When I first started meal prepping, I somehow managed to spend almost the same amount on groceries (those fancy superfoods and pre-cut vegetables add up fast). After a stern talk from my budget app, I learned how to meal prep without breaking the bank. Here’s everything I wish I’d known from the start!
Bulk Buying Guidelines
Okay, let’s talk about smart bulk buying – emphasis on smart! I made the classic newbie mistake of buying everything in bulk, only to watch half of it go bad before I could use it. These days, I’m much more strategic about what I buy in bulk.
Worth Buying in Bulk:
- Grains (rice, quinoa, oats)
- Dried beans and lentils
- Nuts and seeds
- Spices (from ethnic grocery stores)
- Frozen vegetables
Not Worth Bulk Buying:
- Fresh produce (unless you have specific plans)
- Perishable proteins
- Specialty ingredients you rarely use
- Pre-cut anything (you’re paying for convenience)
Pro tip: Split bulk purchases with a friend! I share a Costco membership with my neighbor, and we split large packages of chicken, rice, and other staples. It’s like having a meal prep buddy!
Seasonal Ingredient Planning
This was a total game-changer for my grocery budget. When I started planning my meal preps around seasonal produce, my grocery bill got cut in half! Here’s how I work with seasons:
Spring/Summer Focus:
- Zucchini and summer squash
- Bell peppers
- Tomatoes
- Fresh herbs
- Berries for snacking
Fall/Winter Staples:
- Sweet potatoes
- Carrots
- Cabbage
- Winter squash
- Hearty greens
I keep a seasonal produce chart on my fridge and plan my meal preps around what’s naturally abundant (and therefore cheaper). Those gorgeous summer strawberries in December? They can wait!
Cost-Effective Protein Options
Protein doesn’t have to be the budget-buster I originally thought it was. After experimenting with different options, I’ve found some fantastic alternatives to expensive meat:
Budget-Friendly Proteins:
- Legumes (beans, lentils, chickpeas)
- Eggs (seriously versatile!)
- Canned tuna and sardines
- Chicken thighs (cheaper and more flavorful than breast)
- Tofu (when bought from Asian markets)
Money-Saving Protein Tips:
- Buy whole chickens and break them down yourself
- Look for “manager’s special” deals on meat
- Use meat as a flavoring rather than the main component
- Combine animal and plant proteins to stretch your budget
Reducing Food Waste Tips
Did you know the average American wastes about $1,500 worth of food annually? That’s throwing money in the trash! Here’s how I’ve learned to minimize waste:
Smart Shopping:
- Never shop without a list
- Check your inventory before buying more
- Buy only what you can realistically use
- Don’t be seduced by sales on perishables
Creative Usage:
- Save vegetable scraps for stock
- Freeze herbs in olive oil
- Use wilted vegetables in soups
- Turn stale bread into croutons
Weekly “Clear the Fridge” Meals:
- Stir fries with leftover vegetables
- Frittatas with odds and ends
- Grain bowls with random toppings
- Soups with whatever’s left
Strategic Shopping Hacks
Over time, I’ve developed some ninja-level shopping strategies that save serious cash:
Store Selection:
- Basic staples from budget stores
- Produce from farmers’ markets (especially the end of the day)
- Ethnic markets for spices and specialty items
- Regular stores for everything else
Timing Matters:
- Shop early morning for meat markdowns
- Hit farmers’ markets just before closing
- Buy non-perishables when they’re on sale
- Stock up during holiday sales
Money-Saving Apps and Tools:
- Store loyalty programs (points add up!)
- Cashback apps for groceries
- Price comparison apps
- Digital Coupons
The True Cost Breakdown
Here’s what blew my mind – when I calculated the cost per meal of my meal prep versus buying lunch out:
Average Takeout Lunch: $12-15 My Average Meal Prep Lunch: $3-4
Weekly Savings: ~$50 Monthly Savings: ~$200 Yearly Savings: ~$2,400
That’s a vacation right there! Plus, my prepped meals are generally healthier and more satisfying than what I used to buy.
Remember that time I spent $17 on a sad desk salad that wasn’t even as good as what I make at home? Now I can make a week’s worth of amazing lunches for about the same price. The satisfaction of knowing exactly what’s in your food while saving money? Priceless!
Ready to tackle some common meal prep challenges and learn how to make this a sustainable habit? Let’s dive into that next!
Solving Common Meal Prep Challenges
Let’s get real for a minute – meal prepping isn’t always Instagram-perfect meal prep containers and rainbow-colored Buddha bowls. Sometimes it’s messy, sometimes it’s frustrating, and sometimes you just don’t want to do it at all! After years of trial and error (and plenty of meal prep fails), I’ve learned how to overcome the most common challenges that might make you want to quit. Let’s tackle them together!
Dealing with Limited Fridge Space
My first apartment had a fridge so small, I joked it was meant for elves. But you know what? I still made meal prep work! Here’s how to maximize even the tiniest fridge space:
Smart Storage Solutions:
- Use square containers (they stack better than round ones)
- Invest in stackable containers that nest when empty
- Store similar items together
- Use door space strategically
Organization Tips:
- Label everything clearly
- Create designated zones
- Use clear containers to see what’s inside
- Rotate items front to back
The game-changer? I started using my freezer as an extension of my fridge. Those emergency backup meals don’t need to take up precious refrigerator real estate!
Managing Prep Time Efficiently
“I don’t have time” used to be my biggest excuse. Then I realized I was spending more time daily figuring out lunch than I would meal prepping once a week. Here’s how I make it work:
Time-Saving Strategies:
- Prep while watching your favorite show
- Multi-task (use oven and stovetop simultaneously)
- Prep extra dinner components for lunch
- Break prep into smaller sessions if needed
My 30-Minute Prep Plan:
- Start rice in rice cooker (2 minutes)
- Season and put the chicken in the oven (5 minutes)
- Chop vegetables while chicken cooks (15 minutes)
- Pack everything into containers (8 minutes)
Remember: You don’t have to prep everything from scratch. Sometimes using pre-cut vegetables or rotisserie chicken is worth the extra cost if it means you’ll do the prep!
Preventing Meal Fatigue
Raise your hand if you’ve ever gotten so sick of eating the same thing that you ended up ordering takeout instead! 🙋♀️ Been there, done that. Here’s how I keep things interesting:
Variety Boosters:
- Use different sauces on the same base
- Mix up your protein sources
- Try new seasonings
- Change up textures
The “3-2-1” Method:
- 3 different proteins
- 2 different grains/bases
- 1 cooking method This gives you six different combinations from just a few ingredients!
Adapting to Different Dietary Needs
Whether you’re cooking for different diets or your own needs change, flexibility is key. Here’s how to make meal prep work for any diet:
Basic Guidelines:
- Keep components separate when possible
- Focus on whole ingredients
- Make sauces and dressings adjustable
- Plan for customization
For example, I prep basic ingredients that can work for both my vegetarian lunch buddies and my protein-loving self:
- Roasted vegetables
- Cooked grains
- Various proteins
- Flexible toppings
Tips for Consistent Motivation
Let’s be honest – sometimes the hardest part isn’t the prep itself, it’s finding the motivation to do it. Here’s what keeps me going:
Motivation Tricks:
- Track your savings (I have a “vacation fund” from lunch money saved!)
- Take progress photos
- Join a meal prep community
- Celebrate small wins
When Motivation Fails:
- Have backup plans ready
- Keep emergency meals in the freezer
- Give yourself grace on off weeks
- Remember why you started
Making It a Sustainable Habit
The secret to long-term meal prep success? Making it sustainable! Here’s what I’ve learned about turning meal prep into a lasting habit:
Start Small:
- Begin with just 2-3 days of prep
- Master a few basic recipes first
- Gradually add more complex dishes
- Don’t try to change everything at once
Build Your System:
- Create a prep day routine
- Set up your space efficiently
- Develop go-to recipes
- Plan for flexibility
You know what makes me smile now? Remembering how overwhelming meal prep seemed when I first started. These days, it’s just part of my weekly routine – like doing laundry or grocery shopping. And trust me, if I can make it work with my crazy schedule, limited space, and initial reluctance, you absolutely can too!
The Reality Check
Here’s the truth about meal prep that nobody talks about: It’s not about being perfect. It’s about making your life easier and healthier, one container at a time. Some weeks you’ll nail it with perfectly portioned, Instagram-worthy meals. Other weeks, you might throw together something basic that just gets the job done. And you know what? Both are perfectly fine!
Remember these three things:
- Any prep is better than no prep
- It’s okay to start small and build up
- What works for someone else might not work for you (and that’s fine!)
The best meal prep system is the one you’ll actually stick to. So take these tips, adapt them to your life, and create a routine that works for you. Your future self (and your wallet) will thank you!
Ready to get started? Pick just one tip from this guide and try it this week. Before you know it, you’ll be a meal prep pro, sharing your own tips and tricks with others. And when that happens, remember to share them with me too! We’re all in this meal prep journey together.
Conclusion:
Start your meal prep journey with a simple goal: prep just 2-3 lunches for your first week. Focus on basic combinations like grilled chicken with roasted vegetables and rice, or a hearty grain bowl with chickpeas and fresh veggies. Remember, meal prepping is a skill that gets easier with practice. Your future self will thank you for the time, money, and stress you’ll save by establishing this healthy habit.
1 thought on “How to Meal Prep Work Lunches: Step-by-Step Guide for Beginners (2025)”