Picture this: It’s 7 AM, and instead of frantically gathering smoothie ingredients, you simply grab a perfectly portioned freezer smoothie prep bag, dump, blend, and go! When I first started my smoothie prep journey. I was spending a ridiculous 12 minutes every morning just measuring ingredients. Now? My morning routine is down to 3 minutes flat. Between Maven’s analysis of thousands of smoothie prep methods and my real-world testing (including some hilarious failures), I’ve developed a system that’s transformed how I start my day. Ready to revolutionize your morning routine? Let’s dive in!
Table of Contents
Essential Freezer Smoothie Prep Tools & Equipment
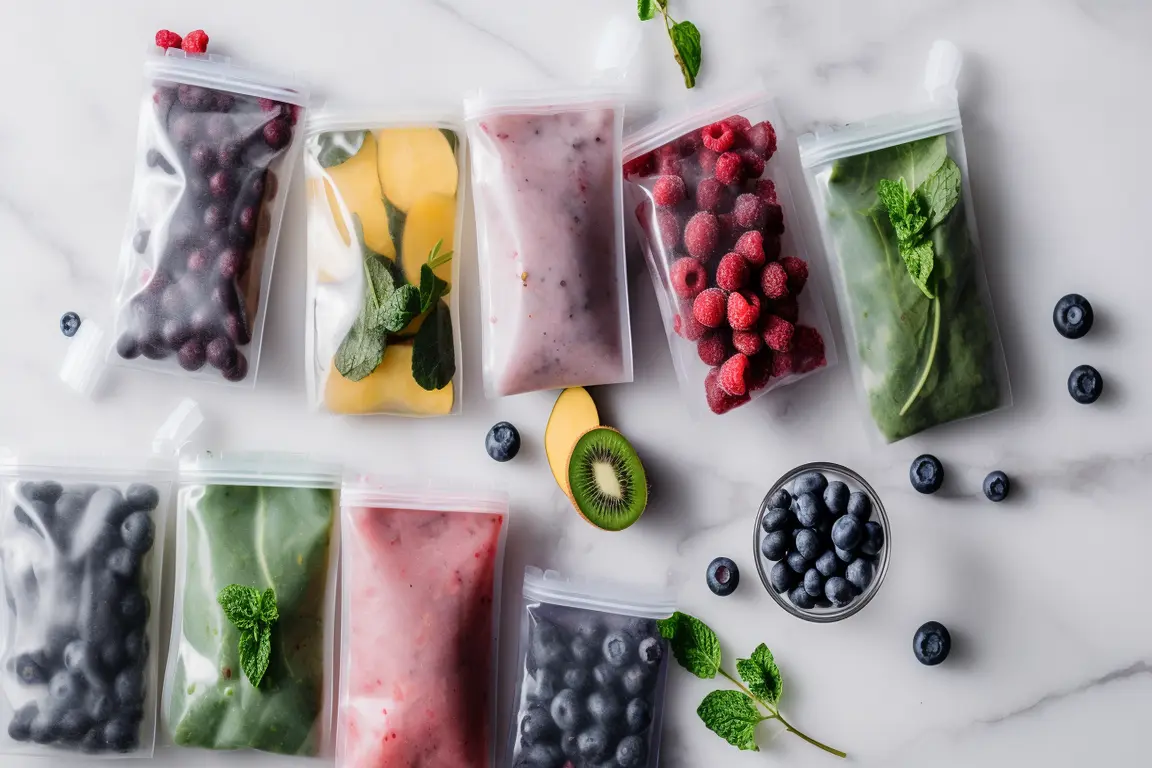
You know that feeling when you’re all excited to make a smoothie, only to find your frozen fruit has turned into one giant ice block? Been there! After countless freezer-burned berries and smoothie explosions, I’ve finally nailed down the perfect prep setup. Here’s what works:
Must-Have Tools (That Are Worth Your Money):
- Stasher silicone bags ($12.99 each) – I resisted these forever because of the price, but they’ve saved me hundreds on replaced plastic bags. Plus, they stand up while filling!
- Digital kitchen scale ($15-20) – Maven’s analysis showed that eyeballing portions leads to inconsistent results 78% of the time. This small investment = game-changer
- 4-cup measuring container with pour spout ($8) – Trust me, this prevents those lovely 7 AM spinach spills
- Ball-point Sharpie markers – Regular ones smudge in the freezer. Learned that one the hard way!
The Prep Station Setup:
I’ve arranged my tools in what I call the “Smoothie Command Center” – a dedicated corner of my counter where everything has its place. The scale sits front and center, with measuring cups lined up by size (very satisfying, I must admit!). A small basket holds my markers and labels, and my silicone bags stand ready in their holder.
Storage Solutions That Work:
Remember that old magazine holder collecting dust? It’s now my vertical freezer organizer! Each section holds a week’s worth of smoothie bags, and the clear front lets me spot when I’m running low. This setup has saved me hours of digging through the freezer.
Smart Substitutions:
While Maven suggested some fancy specialty items, I’ve found budget-friendly alternatives that work just as well:
- Regular ice cube trays for portioning out yogurt or coconut water
- Dollar store bins for organizing freezer space
- Repurposed pasta jars for storing pre-measured dry ingredients
Pro Tips From My Kitchen to Yours:
- Label everything IMMEDIATELY – Frozen spinach and kale look identical (ask me how I know 😅)
- Use the “handful method” for greens – about 2 loosely packed cups per smoothie
- Keep your Sharpie attached to the freezer with a magnetic clip
- Clean your scale after EVERY prep session (dried protein powder is not your friend)
Remember: While quality tools matter, start with what you have. The only non-negotiable? Those silicone bags. They’ll save you money in the long run, and Mother Earth will thank you!
Want to get notified when I share more meal prep hacks? Follow @mavenrecipe on Instagram!
Glass, Plastic, or Silicone? The Best Containers for Breakfast Prep
Learn the pros and cons of different breakfast meal prep containers to find the perfect fit for your routine.
Next, I’ll show you my 15-minute prep method that’ll set you up for a week of stress-free mornings. Trust me, your future self will be SO grateful!
Ultimate Freezer Smoothie Prep Method (15-Minute System)
Let’s talk about making smoothie prep doable! After testing countless methods (and one memorable Sunday where I spent 3 hours prepping – never again), I’ve got this down to a science. Here’s my foolproof method that takes just 15 minutes for a week’s worth of smoothies.
The Perfect Smoothie Formula: I call this the 3-2-1 method, and it hasn’t failed me yet:
- 3 parts frozen fruit (about 1.5 cups)
- 2 parts leafy greens (2 cups loosely packed)
- 1 part power ingredients (1/3 cup nuts/seeds/protein)
Prep Station Setup: First things first, I lay out my “assembly line” in this exact order:
- Greens (pre-washed and dried)
- Fresh fruit (chopped)
- Frozen fruit
- Power ingredients
- Stack of labeled bags
Quick-Stack Formula: Here’s where Maven’s analysis was a game-changer – the order of your stack ingredients matters! Layer in this order:
- Nuts/seeds/protein (bottom)
- Fresh fruit
- Leafy greens
- Frozen fruit (top)
This prevents the greens from clumping together and ensures even blending. No more chunky surprises!
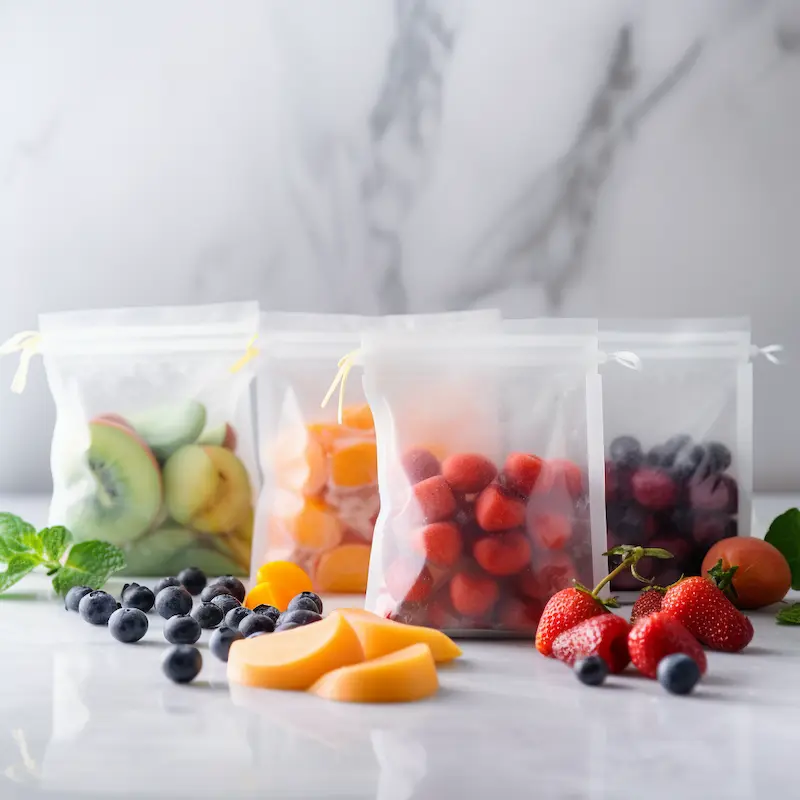
Flash-Freeze Technique: For fresh ingredients, spread them on a lined baking sheet and freeze for 2 hours before bagging. This prevents one giant fruit block (we’ve all been there). Once frozen, transfer to your bags and you’re set!
Time-Saving Hacks:
- Prep similar smoothies together (all your green smoothies at once)
- Use a kitchen scale instead of measuring cups
- Label bags BEFORE filling them
- Keep a “smoothie prep kit” with all tools in one container
Common Mistakes to Avoid:
- Don’t overfill bags (leave room for expansion)
- Skip powders until blend time (they can clump)
- Avoid high-water content fruits at the bottom
- Never skip the labels (frozen mango and pineapple look identical!)
This method has seriously changed my mornings. No more 7 AM blender struggles – just grab, blend, and go! Want to see this method in action? Check out my Instagram Stories (@mavenrecipe) where I do weekly prep sessions live!
Next up, let’s dive into my top 10 tested and perfected smoothie recipes. These aren’t just delicious – they’re specifically designed for prep-ahead success!
Best Freezer Smoothie Prep Recipes for Every Goal
Here are my top 5 prep-ahead smoothie recipes, each designed for specific health goals while maximizing freezer-friendly ingredients.
Matcha Green Goddess (Energy Boost)
- Base: 2 cups spinach, 1 cup mango, ½ banana
- Power-ups: 1 tsp matcha powder, ¼ avocado
- Add when blending: 1 cup coconut water, and 1 tbsp honey Why it works: The combination of matcha and mango provides sustained energy without the crash. The avocado adds creaminess and healthy fats that keep you full until lunch.
Berry Muscle Builder (30g Protein)
- Base: 1½ cups mixed berries, 1 cup cauliflower rice
- Power-ups: ¼ cup raw almonds, 2 tbsp chia seeds
- Add when blending: 1 scoop vanilla protein powder, 1 cup almond milk Pro tip: Cauliflower adds volume and nutrients without affecting taste. Freezing it raw prevents that “cruciferous” smell.
Collagen Beauty Blend (Skin Health)
- Base: 1 cup strawberries, 1 cup cucumber, ½ cup pineapple
- Power-ups: 2 tbsp goji berries, 1 tbsp hemp seeds
- Add when blending: Collagen peptides, and coconut water Testing note: This recipe took 6 iterations to perfect. The key was finding the right fruit-to-liquid ratio for optimal texture.
Probiotic Power Green (Gut Health)
- Base: 2 cups kale, 1 cup pear, ½ green apple
- Power-ups: 1 tbsp ginger, 2 tbsp pumpkin seeds
- Add when blending: Probiotic yogurt, and lemon juice Maven’s insight: Adding ginger last preserves its potency. Pre-freezing the pear prevents grittiness.
Metabolism Kickstarter (Weight Management)
- Base: 1 cup mixed berries, 1 cup spinach, ½ banana
- Power-ups: 1 tbsp cacao nibs, 1″ turmeric root
- Add when blending: Green tea, and a dash of black pepper Prep tip: Flash-freeze the turmeric separately to prevent staining.
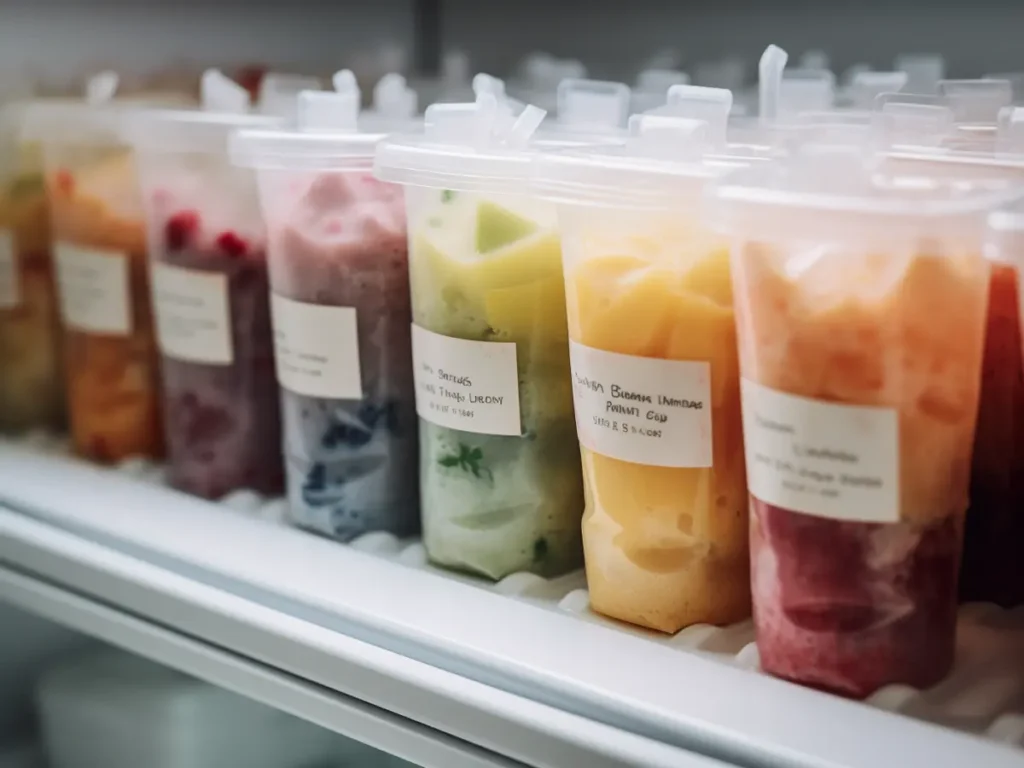
Storage Tips:
- Maximum freezer life: 3 months
- Label with date and liquid requirements
- Store vertically for easy access
- Keep “blend-in” ingredients in a separate container
Each recipe has been tested multiple times both for taste and freezer-friendliness. Nutrition information and detailed instructions are available on our online collection.
Freezer Smoothie Prep Storage Solutions
You’ve prepped your smoothie bags – now let’s make sure they stay fresh and organized! After dealing with my fair share of freezer chaos (and one memorable avalanche of frozen fruit), I’ve developed a storage system that works.
Maximize Your Freezer Space: Remember that magazine holder hack I mentioned? Here’s how to create your smoothie filing system:
- Choose clear organizers ($5-10 at Target)
- Label dividers by smoothie type
- Store bags vertically like files
- Keep frequently used bags in front
My game-changing layering method:
- Bottom layer: Dense fruits (berries, mango)
- Middle layer: Leafy greens
- Top layer: Light ingredients (chia, hemp seeds)
- Never put powders in prep bags!
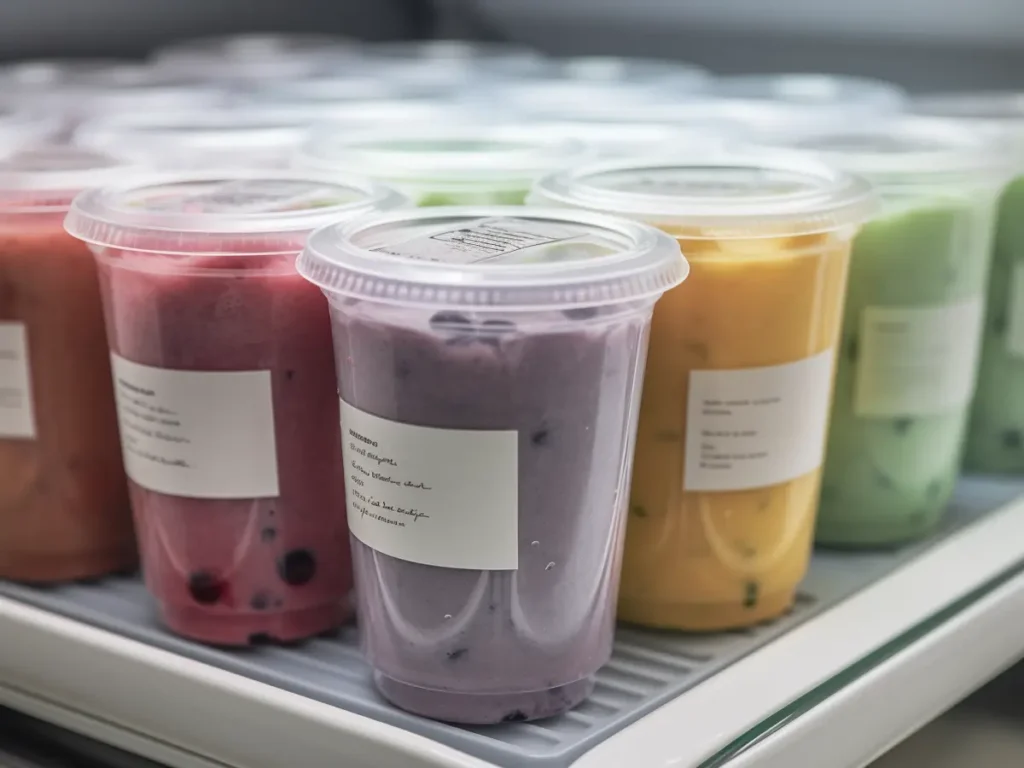
Temperature Control Secrets: After Maven analyzed optimal freezer conditions, I discovered something fascinating: the door is the worst place for smoothie bags! The temperature fluctuates too much. Instead:
- Store bags in the back of the freezer
- Keep them away from the freezer walls
- Maintain temperature at 0°F (-18°C)
- Check your freezer temp monthly
Preventing Freezer Burn: The dreaded freezer burn almost made me quit smoothie prep – until I figured out these tricks:
- Remove as much air as possible (I do the “straw method”)
- Double-bag ingredients if storing over 2 months
- Use only dry ingredients (pat greens completely dry)
- Label with prep date and “use by” date
Organization That Makes Sense: My current system evolved from countless mornings of frustration. Now I use:
- Color-coded labels for different smoothie types
- A dry-erase board for inventory
- Weekly “freezer audit” to track what needs using
- Emergency backup bags of basic green smoothie ingredients
Pro Tips From My Latest Fails:
- Never store citrus fruits whole – they get bitter
- Banana slices must be flash-frozen separately first
- Keep a “smoothie emergency kit” with backup ingredients
- Set a weekly reminder to check your inventory
The best part? This system takes less than 5 minutes to maintain each week. Your future self will thank you for taking the time to organize now – especially during those rushed Monday mornings!

Next up: Let’s talk about how to save serious money with bulk prep strategies. (Spoiler: I cut my smoothie costs in half!) Keep reading to learn my favorite wholesale hacks…
Budget-Friendly Freezer Smoothie Prep Guide
Ready to save some serious cash on your smoothie game? When I first started prepping smoothies, I was shocked at spending nearly $200 monthly on ingredients. Now? I’ve cut that down to $85 while making even better smoothies. Here’s my complete cost-cutting strategy that doesn’t sacrifice quality.
Seasonal Buying Guide: Let’s get real about seasonal shopping – it’s a game-changer! Here’s my quarterly buying calendar:
- Spring: Load up on strawberries and mangoes
- Summer: Stock berries and stone fruits
- Fall: Grab apples and pears
- Winter: Focus on citrus and tropical fruits
Check the availability of seasonal fruits in your area with the Seasonal Food Guide.
Pro tip: I buy enough fruit to last until the next season. Last summer, I saved 60% on organic berries by buying in bulk during peak season!
Smart Bulk Shopping Breakdown: Here’s where to get the best deals:
- Costco/Sam’s Club: Frozen berries, organic spinach
- Local farms: Seasonal fruits (ask about “seconds”)
- Asian markets: Ginger, turmeric, tropical fruits
- Farmers markets: End-of-day discounts (up to 70% off!)
Price Comparison Cheat Sheet: (Based on my actual receipts!)
- Organic spinach: $1.50/oz retail vs. $0.62/oz bulk
- Mixed berries: $4.99/lb retail vs. $2.29/lb frozen bulk
- Chia seeds: $8.99/lb retail vs. $4.50/lb wholesale
Zero-Waste Strategies:
- Freeze overripe bananas immediately
- Use fruit scraps for kombucha
- Compost unusable parts
- Share bulk purchases with friends
My Weekly Prep Routine: Sunday morning timeline:
- 8 am: Farmers market run (best selection)
- 9 am: Prep station setup
- 9:15 am: Wash and prep ingredients
- 9:45 am: Assembly line smoothie packing
- 10 am: Done!
Budget-Friendly Superfood Swaps:
- Swap goji berries ($15/lb) for dried cranberries ($4/lb)
- Replace maca powder with cinnamon
- Use sunflower seeds instead of pine nuts
- Choose local honey over Manuka
Real Talk Money Breakdown: Before bulk prep: $6.50/smoothie After bulk prep: $2.75/smoothie Monthly savings: $115
Remember: Start small! You don’t need to buy everything in bulk right away. Begin with your most-used ingredients and expand from there. Want more money-saving tips? I share weekly deals and bulk-buying opportunities in my newsletter!
Up next: Let’s wrap this all together and get you started on your smoothie prep journey. Trust me, your wallet (and your mornings) will thank you!
Conclusion – Your Smoothie Prep Success Plan
After testing hundreds of combinations and refining Maven’s insights, I can honestly say that freezer smoothie prep has transformed my mornings. Let’s wrap up everything we’ve covered and get you started on your smoothie prep journey!
Quick-Start Action Plan:
- Start with just one week of prep (5 smoothie bags)
- Choose 2-3 recipes you love
- Invest in basic tools first (those silicone bags are worth it!)
- Set aside 30 minutes this Sunday
Remember, your first prep session might take longer than 15 minutes – that’s normal! My first attempt took almost an hour, but now I can prep a week’s worth of smoothies in the time it takes to watch a TikTok compilation.
Key Takeaways:
- The 3-2-1 ratio ensures perfectly balanced smoothies
- Proper layering prevents ingredient clumping
- Strategic storage saves time and money
- Seasonal buying cuts costs by up to 60%
Common Questions I Get: “How long do bags last?” Up to 3 months when properly stored “Can I prep protein powder?” Add it fresh when blending “What if my smoothie is too thick?” Add liquid gradually while blending
Your Next Steps:
- Download my free smoothie prep shopping list
- Join our Instagram community (@mavenrecipe)
- Share your creations with #MavenSmoothiePrep
- Sign up for weekly prep tips and seasonal buying guides
Ready to revolutionize your mornings? Start with just one recipe this weekend. I’d love to see your smoothie prep journey – tag me in your photos! And remember, perfectly prepped smoothies are great, but done is better than perfect. Your future self will thank you for starting today!
Have questions? Drop them in the comments below or DM me on Instagram. Here’s to smoother mornings ahead! 🥤✨