Let’s face it—mornings can be chaotic. Between hitting snooze one too many times and scrambling to get out the door, breakfast often takes a backseat. But what if I told you there’s a way to enjoy a nutritious, delicious smoothie every morning without the hassle? Enter smoothie prep bags—your new best friend for busy mornings. As someone who’s been there (and still occasionally hits snooze), I can’t recommend these enough. They’re perfect for millennial women juggling work, family, and everything in between. In this guide, I’ll show you how to create smoothie prep bags that are not only healthy but also stylish and Instagram-worthy. Let’s make mornings smoother, one bag at a time!
Table of Contents
What Are Smoothie Prep Bags and Why You’ll Love Them
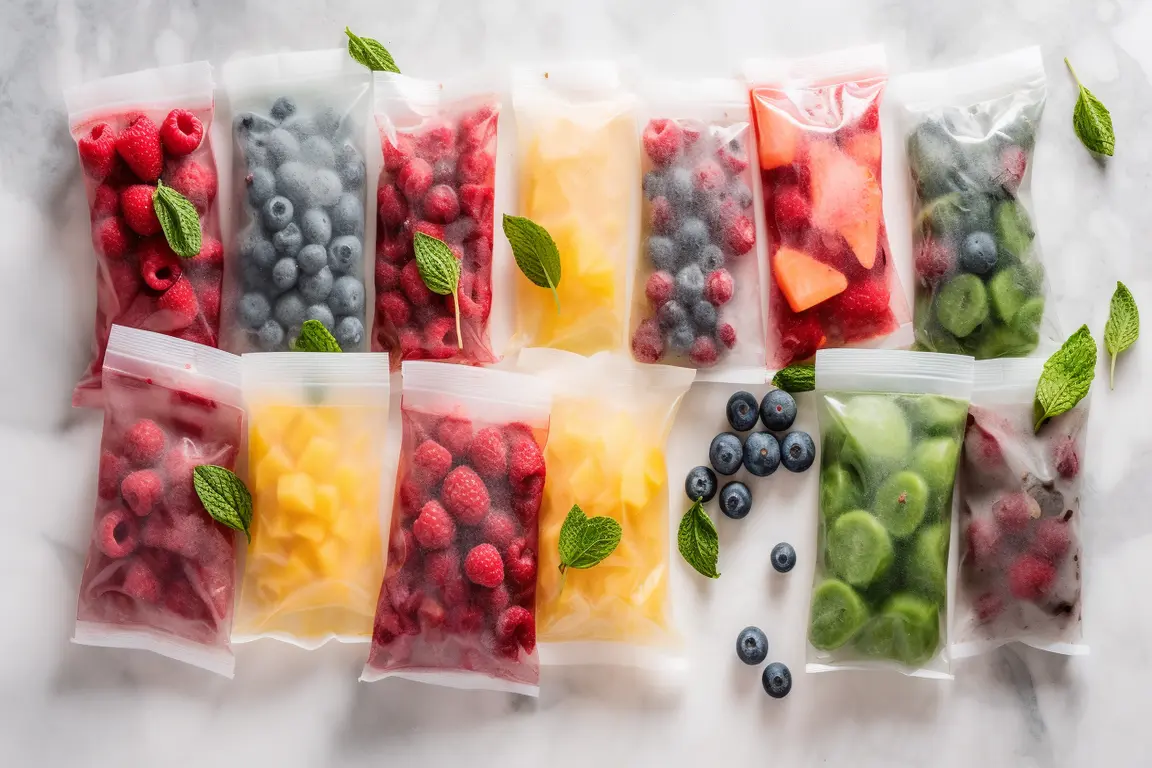
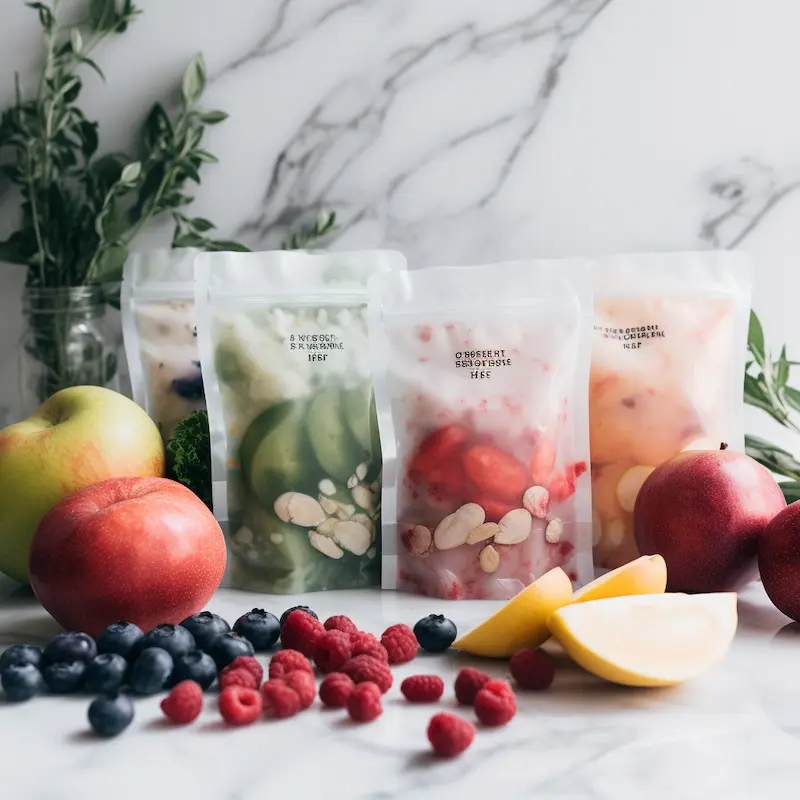
Smoothie prep bags are essentially pre-portioned packs of frozen fruits, veggies, and other smoothie ingredients that you can grab, blend, and go. Think of them as your personal breakfast assistant, ready to save you time and stress.
I first discovered smoothie prep bags during a particularly hectic week when I realized I hadn’t eaten a proper breakfast in days. I was tired, cranky, and constantly reaching for unhealthy snacks. That’s when I decided to give smoothie prep bags a try—and let me tell you, they were a game-changer.
Here’s why you’ll love them:
- Time-Saving: No more chopping fruits or measuring ingredients in the morning.
- Healthy Choices: You’re more likely to grab a smoothie when it’s this easy.
- Customizable: Tailor each bag to your taste or dietary needs.
- Eco-Friendly: Use reusable bags to reduce waste.
Maven’s AI-powered suggestions helped me refine my ingredient combinations, ensuring each smoothie was both nutritious and delicious. For example, Maven recommended adding a handful of spinach to my berry smoothie for an extra nutrient boost—something I wouldn’t have thought of on my own!
How to Make Smoothie Prep Bags in 5 Simple Steps
Creating smoothie prep bags is easier than you think. Here’s my step-by-step guide, complete with tips I’ve picked up along the way:
- Choose Your Ingredients:
- Start with a base of frozen fruits like bananas, berries, or mango.
- Add greens like spinach or kale for a nutrient boost.
- Include protein sources like Greek yogurt, protein powder, or nut butter.
- Don’t forget superfoods like chia seeds or flaxseeds for added health benefits.
- Portion and Layer:
- Use a mix of textures and flavors to keep things interesting.
- Layer ingredients in a way that makes blending easier (e.g., greens at the bottom).
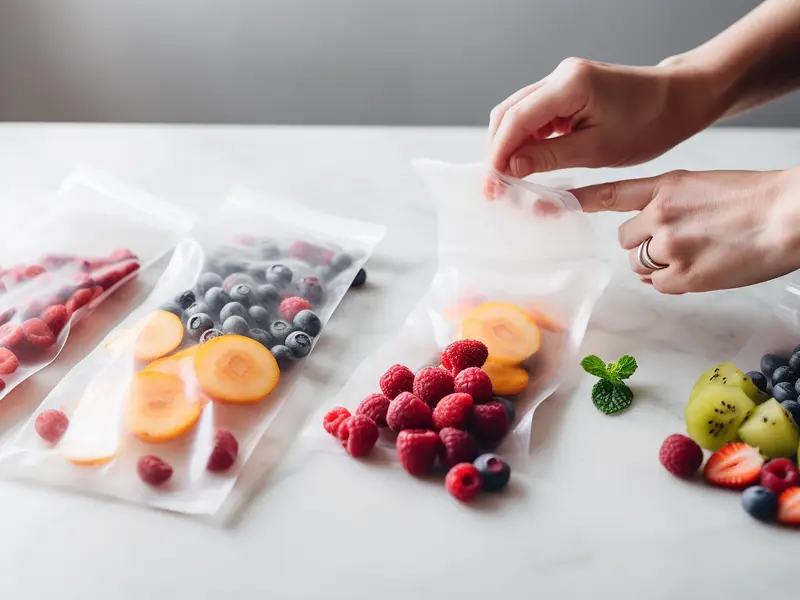
- Pack and Seal:
- Use reusable silicone bags or zip-top bags.
- Remove as much air as possible to prevent freezer burn.
- Label and Freeze:
- Label each bag with the date and smoothie type.
- Store in the freezer for up to 3 months.
- Blend and Enjoy:
- Dump the contents into a blender, add your liquid of choice (almond milk, coconut water, etc.), and blend until smooth.
Pro Tip: Maven suggested adding a splash of citrus juice to brighten up the flavors—a small tweak that made a big difference!
Best Ingredients for Smoothie Prep Bags
Not all ingredients are created equal when it comes to smoothie prep bags. Here’s my go-to list of ingredients that freeze well and taste amazing:
- Fruits: Bananas, berries, mango, pineapple.
- Greens: Spinach, kale, cucumber.
- Protein: Greek yogurt, protein powder, nut butter.
- Superfoods: Chia seeds, flaxseeds, spirulina.
- Liquids: Almond milk, coconut water, oat milk.
Maven’s AI analysis helped me discover some unexpected pairings, like adding a pinch of cinnamon to a banana-based smoothie for a cozy, fall-inspired flavor. Trust me, it’s a game-changer!
Storage Tips for Smoothie Prep Bags
Proper storage is key to keeping your smoothie prep bags fresh and ready to go. Here are my top tips:
- Use High-Quality Bags: Reusable silicone bags are my favorite—they’re eco-friendly and durable.
- Remove Excess Air: This prevents freezer burn and keeps ingredients fresh.
- Label Everything: Trust me, you’ll thank yourself later when you can easily identify each bag.
- Organize by Type: Group similar smoothie bags together for easy access.
Maven’s storage tips were a lifesaver, especially when it came to preventing freezer burn. Who knew a little extra air could cause so much trouble?
5 Delicious Smoothie Prep Bag Recipes
Here are five of my favorite smoothie prep bag recipes, each with a unique twist:
- Tropical Paradise: Mango, pineapple, spinach, coconut water.
- Berry Blast: Mixed berries, banana, spinach, almond milk.
- Green Detox: Kale, cucumber, apple, ginger, coconut water.
- Chocolate Peanut Butter: Banana, cocoa powder, peanut butter, almond milk.
- Protein Power: Greek yogurt, mixed berries, chia seeds, oat milk.
Maven’s recipe suggestions added a modern twist to these classics, like swapping almond milk for oat milk in the Protein Power smoothie for a creamier texture.
Tips for Customizing Your Smoothie Prep Bags
One of the best things about smoothie prep bags is how customizable they are. Here are some tips to make them your own:
- Adjust Sweetness: Add honey, dates, or stevia for a touch of sweetness.
- Experiment with Spices: Cinnamon, ginger, or even turmeric can add a unique flavor.
- Swap Ingredients: Tailor each bag to your dietary preferences (vegan, keto, gluten-free).
- Try Different Liquids: Switch up your base with coconut water, oat milk, or even green tea.
Maven’s customization tips helped me create a keto-friendly version of my favorite smoothie by swapping out bananas for avocado—genius!
Common Mistakes to Avoid
Even with the best intentions, it’s easy to make mistakes when prepping smoothie bags. Here’s what to watch out for:
- Overpacking: Too many ingredients can make blending difficult.
- Using the Wrong Ingredients: Some items, like citrus fruits, don’t freeze well.
- Forgetting to Label: Without labels, you might end up with a mystery smoothie.
- Ignoring Flavor Balance: Too much of one ingredient can overpower the rest.
Maven’s AI caught a few of my early mistakes, like overloading my bags with too many greens. Lesson learned!
Sample Weekly Smoothie Prep Plan
Here’s a sample plan to get you started:
- Monday: Tropical Paradise.
- Tuesday: Berry Blast.
- Wednesday: Green Detox.
- Thursday: Chocolate Peanut Butter.
- Friday: Protein Power.
- Weekend: Mix and match your favorites!
Maven’s weekly planning feature helped me stay organized and ensured I never ran out of smoothie options.
Conclusion:
Smoothie prep bags are the ultimate solution for busy millennial women who want to enjoy healthy, delicious breakfasts without the morning rush. By following these simple steps and tips, you can create a week’s worth of smoothies in just one prep session. Say goodbye to skipped breakfasts and hello to nutritious, energizing smoothies every day! Ready to get started? Grab your ingredients, prep your bags, and blend your way to a healthier morning routine. Don’t forget to share your smoothie creations with #SmoothiePrepBags!
Try These External Links for more info!
- Learn more about the benefits of chia seeds from Healthline’s guide to chia seeds.
- For tips on reducing food waste, visit EPA’s Food Waste Reduction Tips.
- Explore eco-friendly reusable bags at Stasher’s official website.